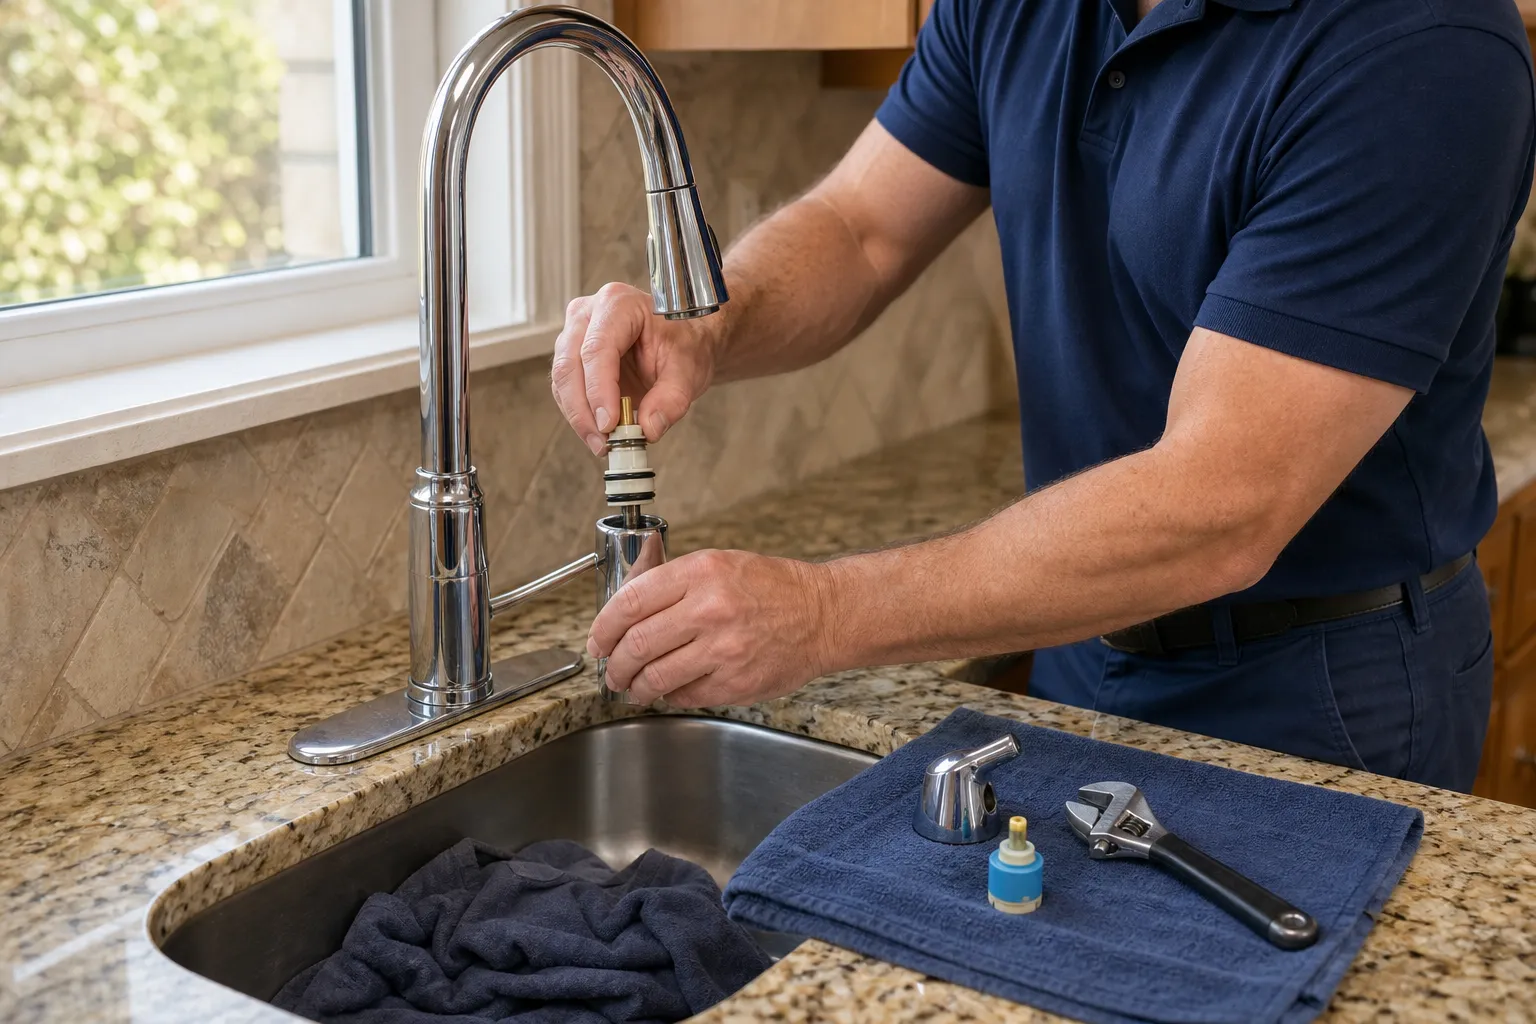
A dripping faucet seems minor until you notice it at 2 a.m., or until you realize a steady drip wastes thousands of gallons a year. The good news is that most leaky faucets don't need replacing. A drip from the spout almost always comes down to one small worn part inside the handle - a cartridge, a washer, or an O-ring - and swapping that part is a manageable DIY job with the water shut off and a little patience.
Quick Answer
Shut off the water under the sink, plug the drain, and take the handle off. Pull out the cartridge (or the stem and washer on an older two-handle faucet), take it to a hardware store to match it exactly, and install the new one. If the leak is under the sink rather than at the spout, check the supply lines and shutoff valves first - that's a different repair.
When it's DIY-friendly: a drip from the spout or a leak around the handle on a faucet from a brand that still sells parts. When to call a pro: water under the sink you can't trace, shutoff valves that won't close, a faucet so corroded the handle won't come off, or an older faucet where replacement parts are no longer made.
First, Find Where It's Leaking
- Dripping from the spout when off: a worn cartridge (single-handle and most modern faucets) or a worn washer and valve seat (older two-handle compression faucets).
- Leaking around the base of the handle or spout: worn O-rings on the cartridge or spout.
- Water in the cabinet under the sink: a loose or failing supply line, a weeping shutoff valve, or a bad mounting gasket. Dry everything, put a paper towel under each connection, and run the water to see which one gets wet first.
Tools & Materials You'll Need
- Screwdrivers and a set of Allen (hex) keys - many handles use a small hex set screw
- Adjustable wrench and slip-joint pliers
- The replacement cartridge, washer kit, or O-rings (bring the old part to match it)
- Plumber's silicone grease
- White vinegar and an old toothbrush for mineral buildup
- A towel or rag to plug the drain so small parts don't disappear
How to Fix a Dripping Faucet, Step by Step
Shut off the water and plug the drain
Turn both shutoff valves under the sink clockwise until they stop, then open the faucet to drain the pressure. If water keeps flowing, a shutoff isn't sealing - close the main before going further. Stuff a rag in the drain; faucet screws are tiny and drains are hungry.
Take the handle off
Look for a decorative cap on the top or a small set screw on the side or back of the handle. Remove the screw and lift the handle off. If it's stuck from mineral buildup, a few minutes with vinegar on a rag and gentle rocking usually frees it - don't pry against the finish.
Remove the cartridge or stem
Unscrew the retaining nut or pull the retaining clip, then pull the cartridge straight out. Take a phone photo of its orientation first - many cartridges only work one way around. On an older two-handle faucet, unscrew the stem instead; the rubber washer held by a screw at its bottom is usually the culprit.
Match the part exactly
Take the old cartridge or stem to the store, or look up the faucet's brand and model for the exact part number. Cartridges that look similar are rarely interchangeable. While you're there, pick up replacement O-rings if the old ones are flattened or cracked.
Clean, grease, and reinstall
Scrub mineral scale out of the faucet body with vinegar and a toothbrush, coat the new O-rings with plumber's silicone grease, and install the new cartridge in the same orientation as the old one. Reinstall the retaining nut or clip snugly - not cranked - and put the handle back on.
Turn the water on slowly and test
Open the shutoffs gradually, run hot and cold, and watch the spout and the base of the handle for a few minutes. If hot and cold are reversed, the cartridge is in backwards - pull it and rotate it 180 degrees.
Repair or Replace the Faucet?
A new cartridge is usually the right call for a faucet that's otherwise in good shape. Replacement starts making more sense when the faucet is old enough that parts are hard to find, the finish or body is corroded, it's leaking from more than one place, or you're already unhappy with how it looks or works. If you've decided on new, our guide on how to replace a bathroom faucet walks through the swap.
Common Mistakes to Avoid
- Buying a "close enough" cartridge. It won't seal. Match the brand and part number.
- Skipping the photo. A cartridge installed backwards swaps hot and cold or won't shut off fully.
- Overtightening. Cranking the retaining nut can crack the cartridge or make the handle stiff.
- Ignoring a sticky shutoff valve. If it barely closed this time, it may not close at all next time - replace it while the water's off.
When to Call a Handyman
Call a pro if the shutoff valves won't close or leak when turned, the handle or cartridge is seized in place, you can't find the source of water under the sink, or the faucet needs replacing anyway. Our faucet installation and repair service in Santa Clarita handles leaky faucets, stuck shutoff valves, and full kitchen and bathroom faucet replacements, and we leak-test every connection before we leave.
Estimated time: 30–60 minutes once you have the right part. Finding the part is often the longest step.